HOW TO DO THE PREFLIGHT CHECK OF A DIAMOND DA20-C1

We are sure that you have ever heard that the plane is the safest means of transport that exists, isn’t it? And it is true, but for this, every time an aircraft has to take off, it is subjected to a rigorous preflight check to verify that all its components are in optimal conditions.

In this article, we show you what steps to follow to inspect a Diamond DA20 before each flight. Besides, so that you do not lose detail, you will be able to see the entire process on video by one of our instructors.

But first, let’s look at the essential characteristics of this aircraft which is crucial in almost all phases of pilot training.

VIDEO | DIAMOND DA20 TECHNICAL FEATURES

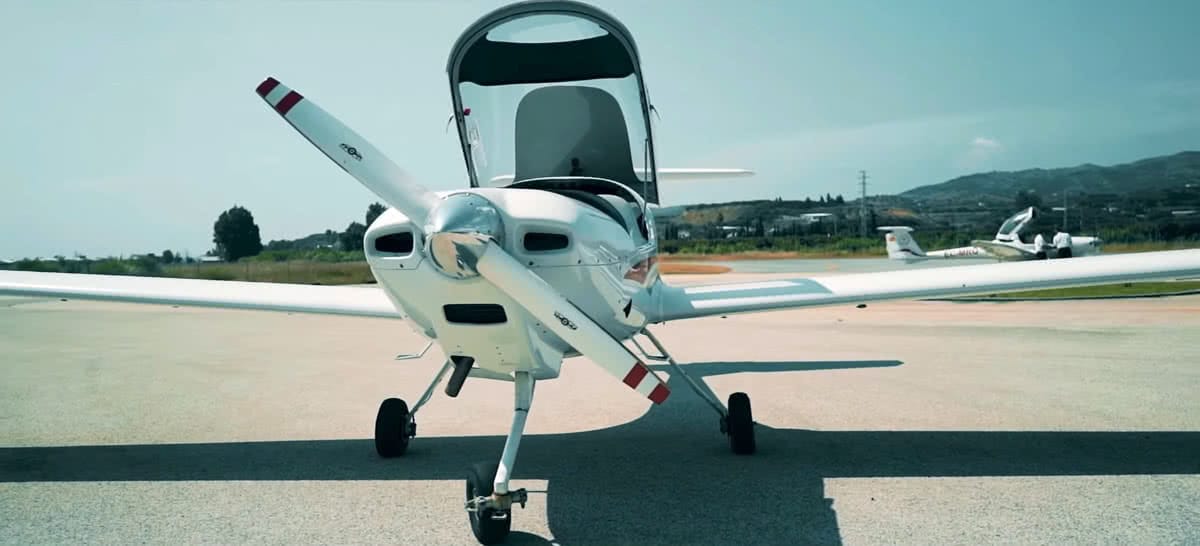
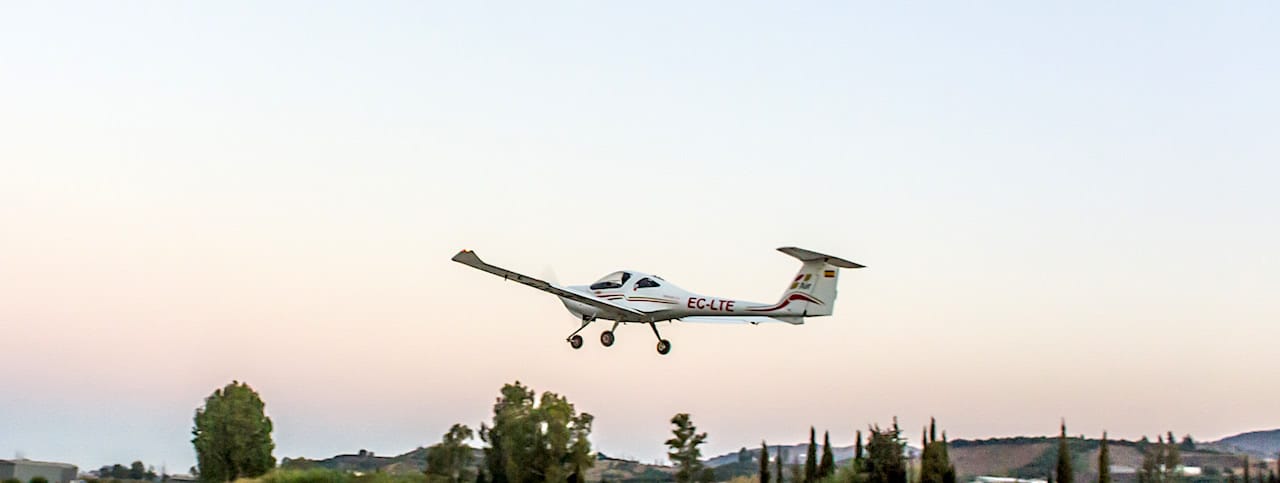
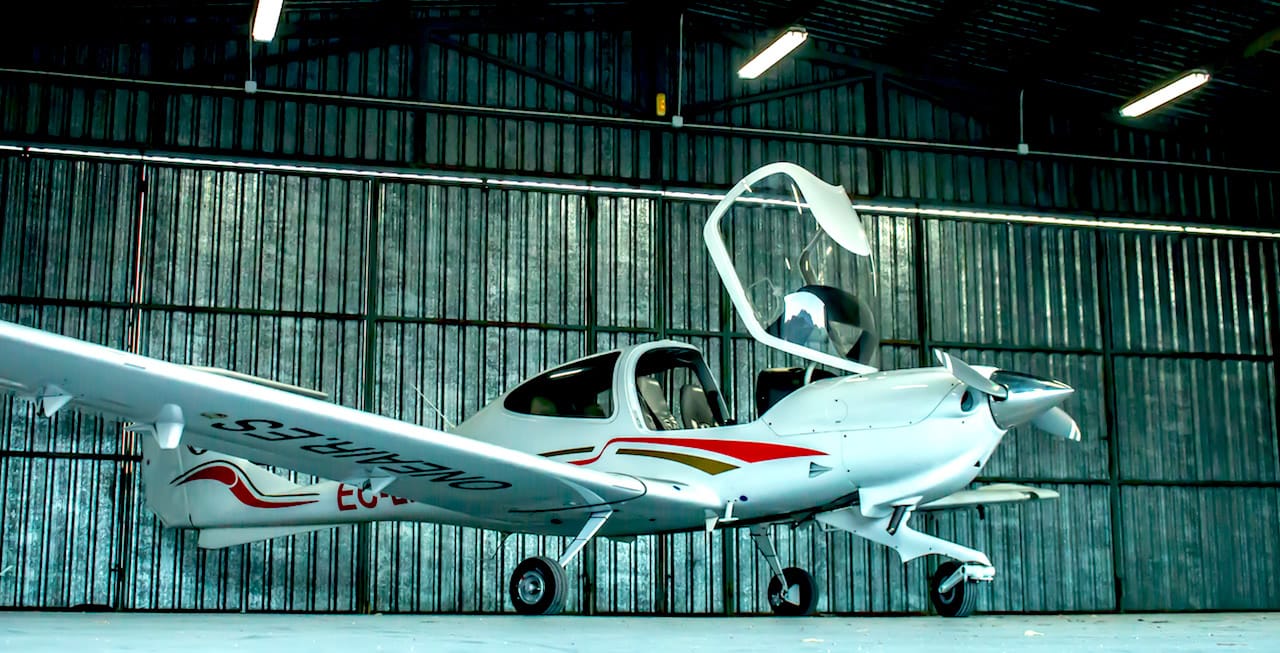
Also to seeing the plane from all angles, in this orbital video, you can know the technical specifications of our Diamond DA20-C1 Eclipse.

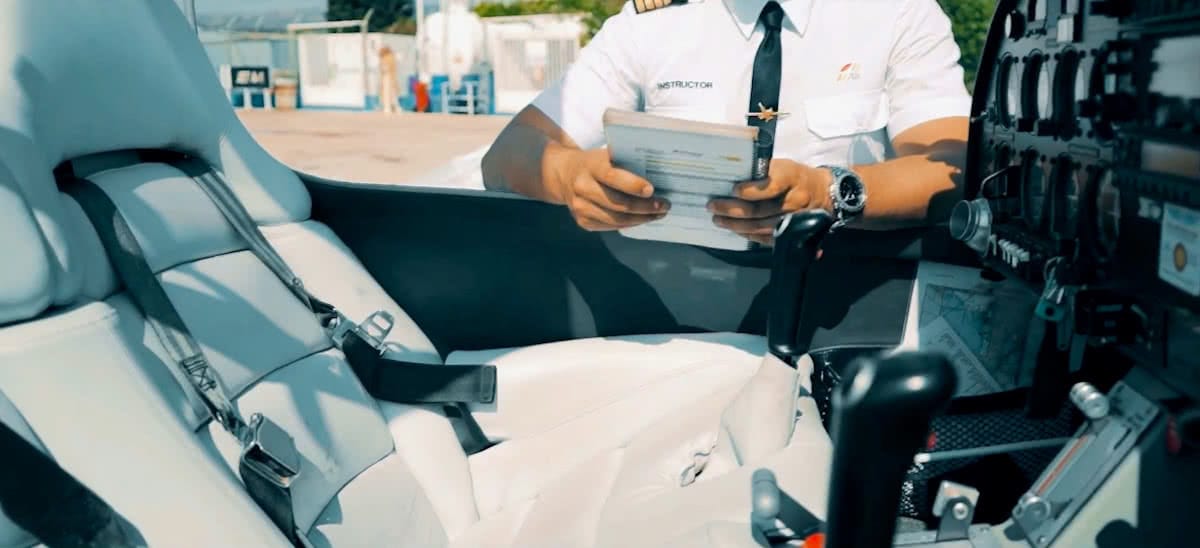
COCKPIT INSPECTION

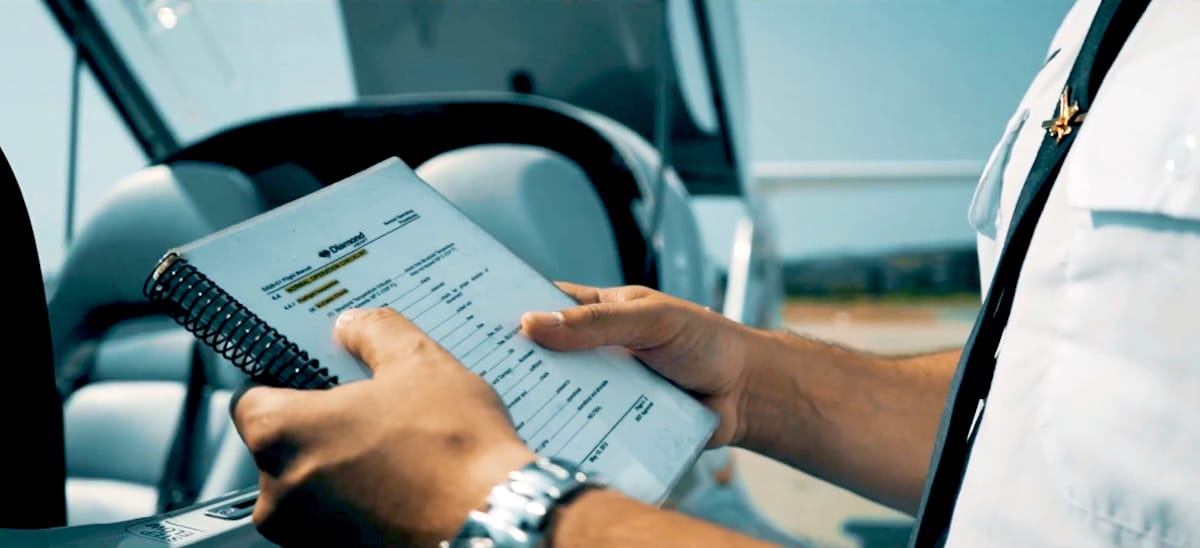
The first thing to do, at the beginning of the review, is to check the manual of the plane. In the operation list, we will find the preflight checklist, so all we have to do is follow point by point what it exposes us.

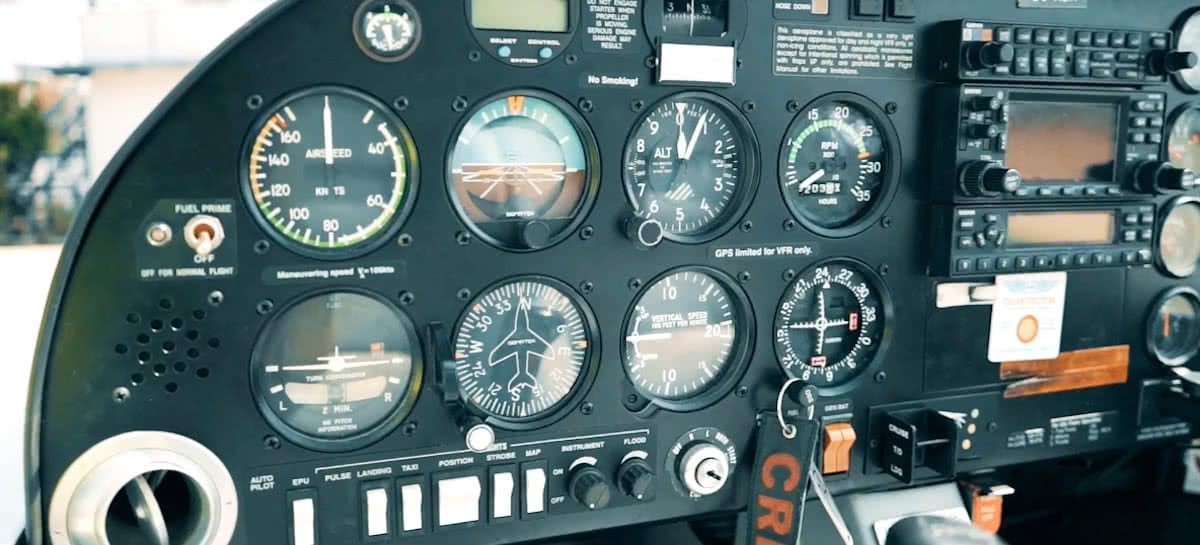
To check the elements of the cockpit, we will have to pay attention to the temperature indicator, which is located behind the left seat. Also, we must check the aeroplane logbooks, licenses, flight hours, etc.

Flight Controls

We will then go to the flight controls. We will remove the security adjustment, which is located in the area of ​​the feet of the left seat, to free it; and we will perform a scanflow to make sure everything is off, except for the park brake, which will be on.

The alternative air, turned off; the gases, in IDLE position; and the mixture, must be cut. Also, the fuel set will be open and with the security guard turned on.

CHECK THE LANDING GEAR

Once we have checked the entire interior of the cabin, we begin with the exterior of the plane.

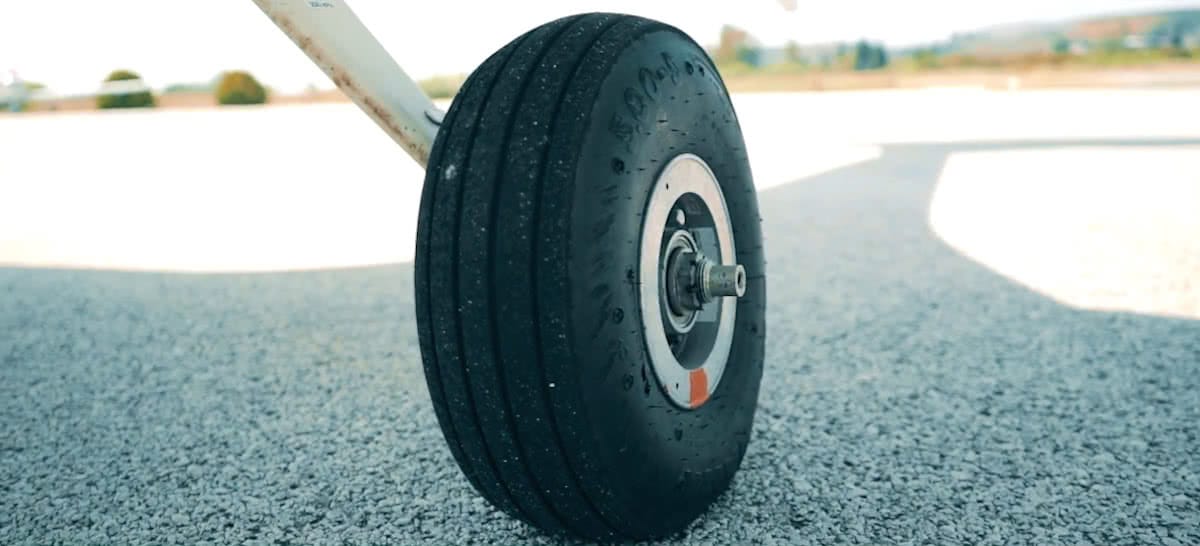
We focus our attention, therefore, on the landing gear. We must ensure that the wheels are in good condition, that they still have a tread and that they are at the correct pressure. The optimal value is 3.3 psi.

After checking the tires, we will inspect the condition of the brakes. We have to check the status of the brake shoes and make sure there are no liquid losses.

WING INSPECTION

Leading Edge

Once the wheels of the aircraft have been verified, we proceed to check the general condition of the wings. To do this, we will follow the entire line of the leading edge, checking the loss warning and the whole lower side of the wing.

We will check the static pitot tube, making sure that the case is removed, that it has no obstruction and that it is in good general condition.

Wing Lights

After having turned on the battery and having verified that the lights are operational, we will check that they are fixed and that they do not show any damage.

Trailing Edge

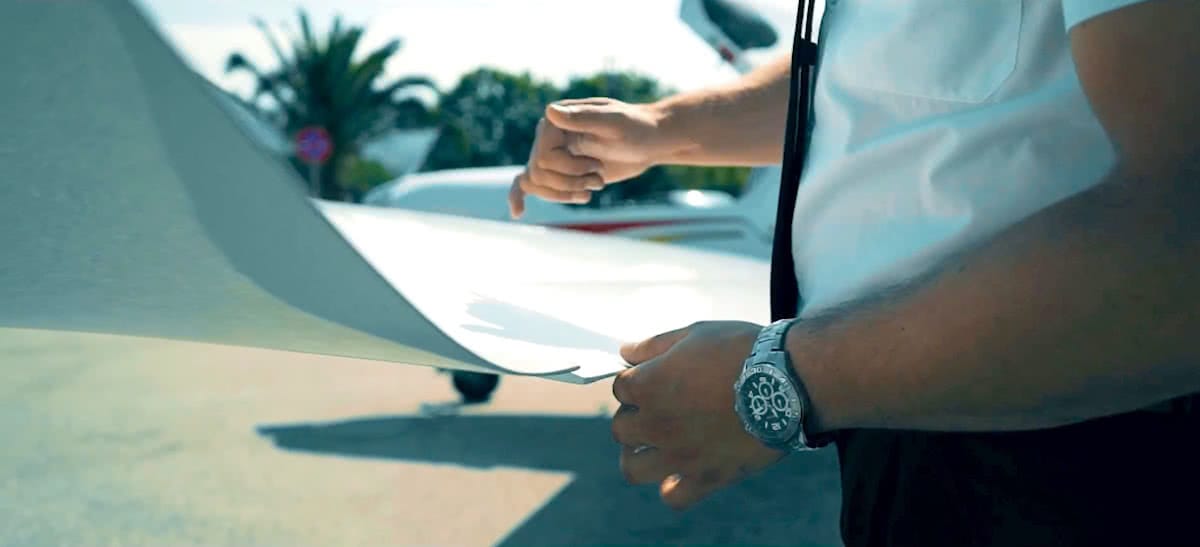
We continue on the back of the wing. At this point, we will carefully tilt the ailerons to verify that they respond correctly to the control, making sure, therefore, that the anchor is free. We will do the same with the actuators.

To inspect the flaps, we will only ensure that they are rigid and in a cruise position, always without applying pressure or manipulating them.

Finally, we will check the drain points to make sure there is no loss of oil or fuel. We will also observe if there is any damage in the aerials area, radio antennas, etc.

TAIL CHECKING

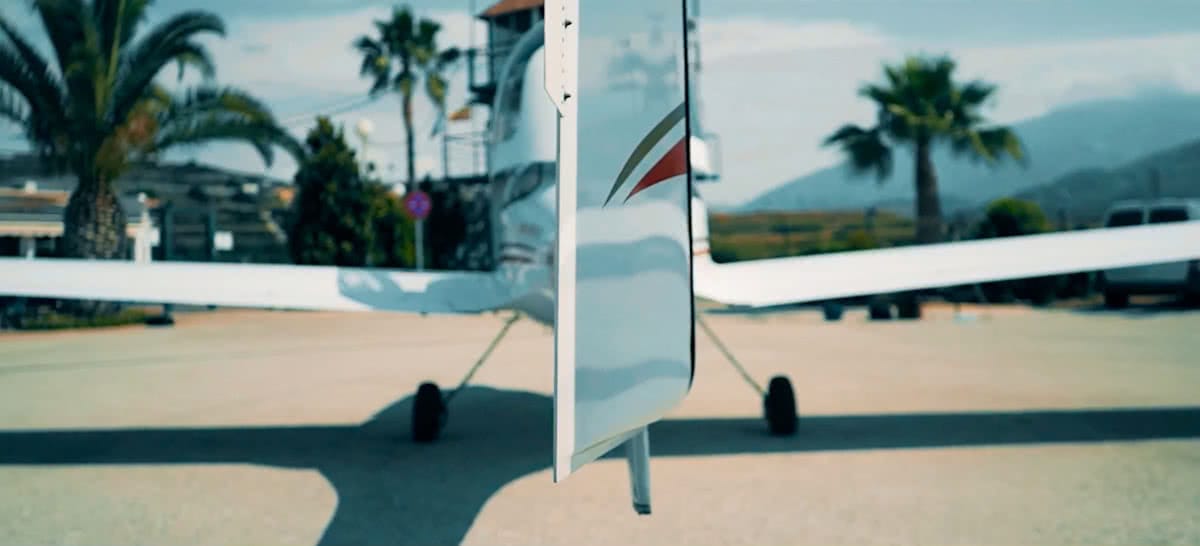
To check the general condition of the tail of our DA20, we move along its entire length, checking that it is in optimal conditions. If we follow the bottom line, we will reach the sneak, which must be smooth and with the paint intact.

We scroll vertically, checking the leading edge of the tail stabilizer. From here, we will check all the points very carefully, ensuring that the rade cable has tension and that the leading and trailing edge of the tail are in good condition.

Next, we will review the state of the other wing, following the same steps as for the first.

NOSE INSPECTION

At the front of the plane, we will check that the cooling air intake and the temperature sensor have no obstructions. Also, we will ensure that the entire part of the screws is well fixed and free of damage.

Finally, we will check the landing gear leg, observing if the exhaust has any obstruction, and check the condition of the wheel and the tire pressure.

Spinner, propeller and nose

Now, the most crucial thing will be that there are no obstructions in the grilles and that the alternator belt has pressure. However, we will check that the propeller has no blows, nicks or any damage, neither at the leading edge nor at the trailing edge.

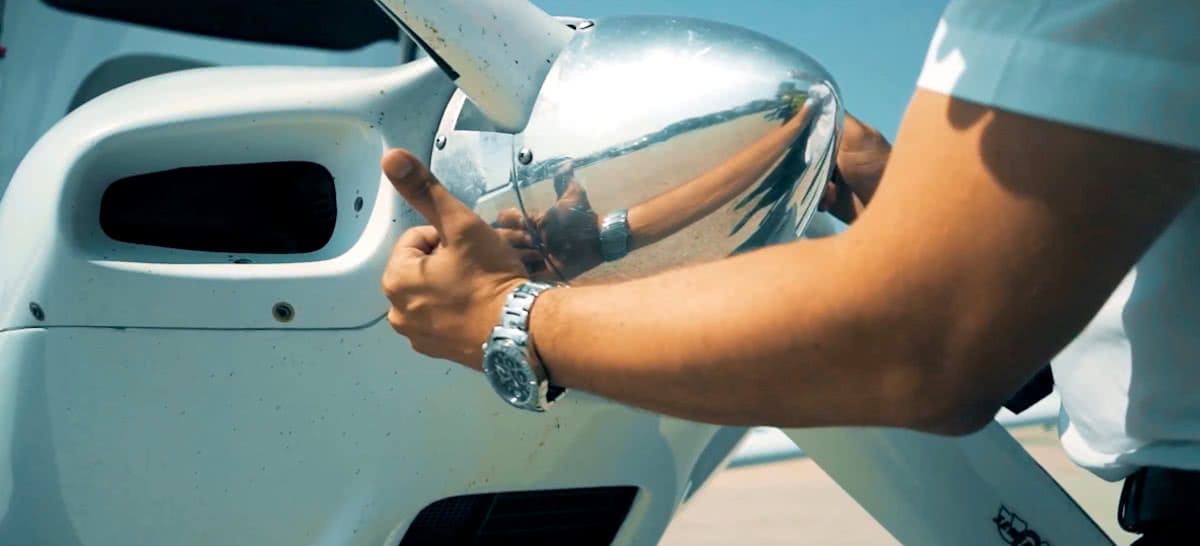
In the spinner zone, we must ensure that the lateral areas are not scraped. We must never push the spinner to move the plane; if we need to move it, it will always be done by pulling, never pushing.

FUEL AND OIL INSPECTION

It’s time to turn on the generator and observe the indication given on the gauge. We will check that the marked levels coincide with the measurement obtained with the Diamond stick.

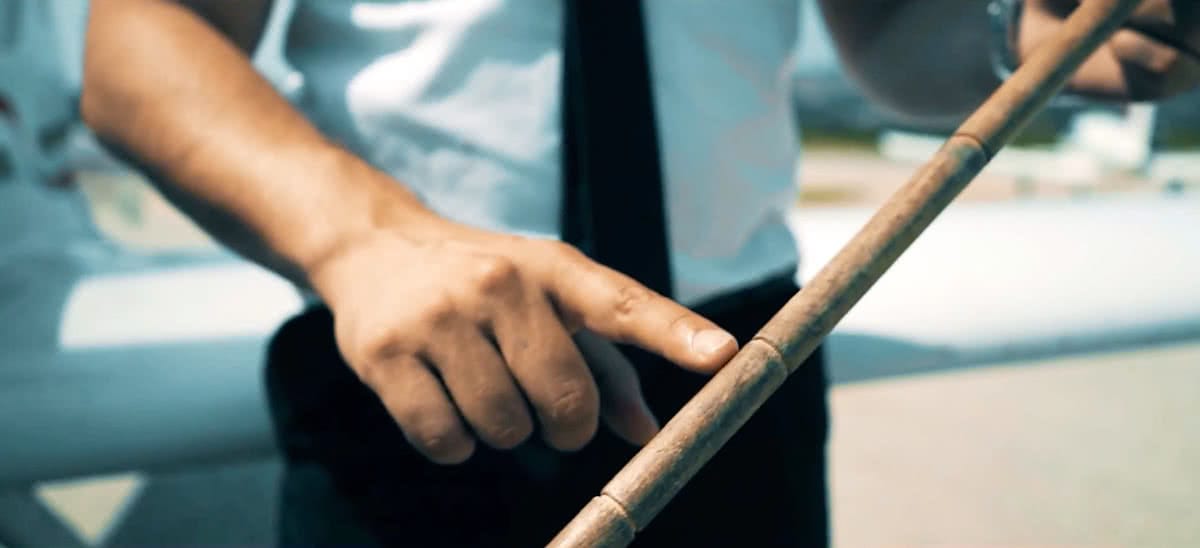
In order to do this, we will open the fuel tank and introduce the stick to the bottom. Next, we will carefully extract it to see how far the stain mark reaches. Finally, we must close the lid of the tank properly at the end of the check.

To check the oil, we will open the lid, remove the check lever and clean it thoroughly before reinserting it to see the levels. The oil level should be between 4 and 6; being 5, the optimum level.

VIDEO | DIAMOND DA20 PREFLIGHT CHECKING

If you have any doubts about how to review a DA20 before flying, in this video, you will be able to see each step together with one of our flight instructors.

Now you just have to get comfortable, fasten your belts and fly!

You may be interested in…